
Garlic-Parmesan Pumpkin Fries w/Pumpkin Spice Butter [Keto, Low-carb, Sugar-free, Gluten-free]

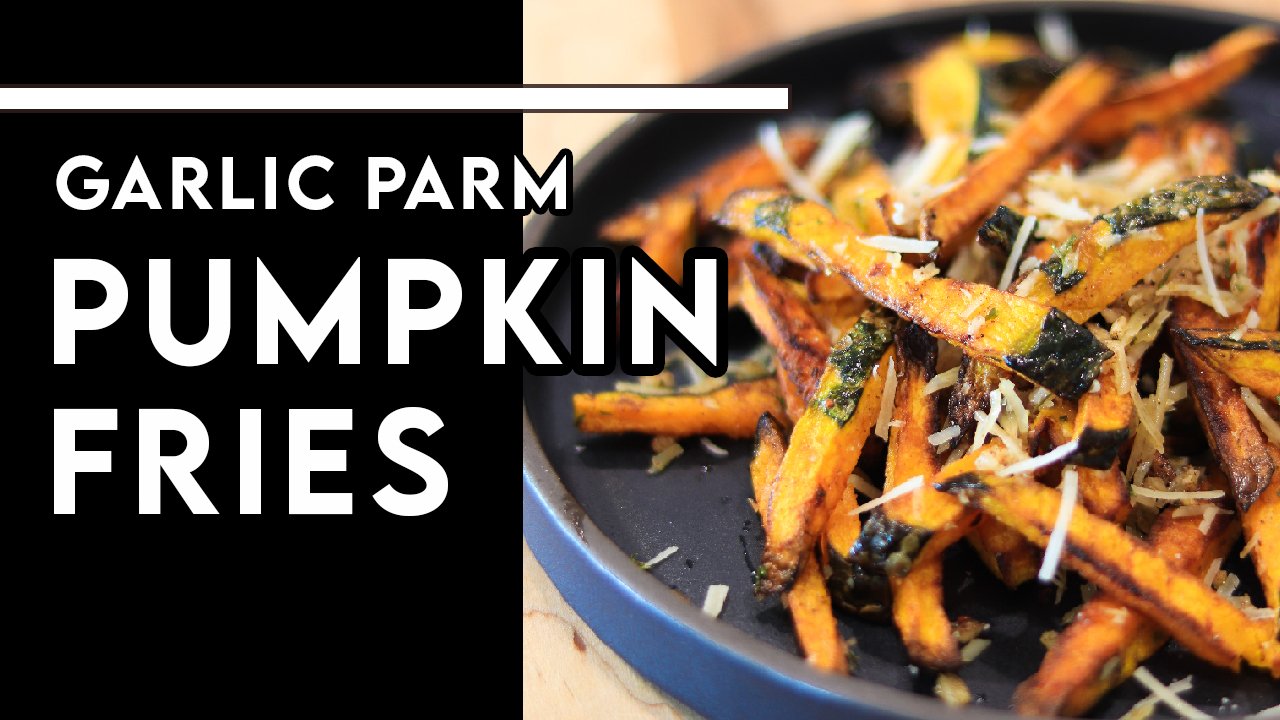
Garlic-Parmesan Pumpkin Fries
w/Pumpkin Spice Butter
Low-carb | Sugar-free | Dairy-free | Nut-free | Gluten-free | Soy-free | Vegetarian
Yes, the pumpkin recipes continue, and this one is super comforting and delicious! These pumpkin fries are basically a lower carb version of sweet potato fries, and they are absolutely delicious. They have a natural sweetness that balances out the punchy garlic and parmesan flavors. And the pumpkin spice seasoning and sage just make it taste like fall. It’s flavor heaven for the whole family. While it may sound strange to some, this recipe will definitely bring on the smiles.
But, pumpkin spice butter? Absolutely! It’s the seasonal treat you didn’t know you needed. If you’ve even been to Texas Roadhouse, you know how good this can be, and this my twist on it! Use it on toast, bread, or muffins all season long! You can even use it in coffee to make a delicious “bulletproof” coffee in the mornings! I also just love dipping the pumpkin fries in it too.
*And don’t forget to read through the PRO TIPS for this recipe below!*
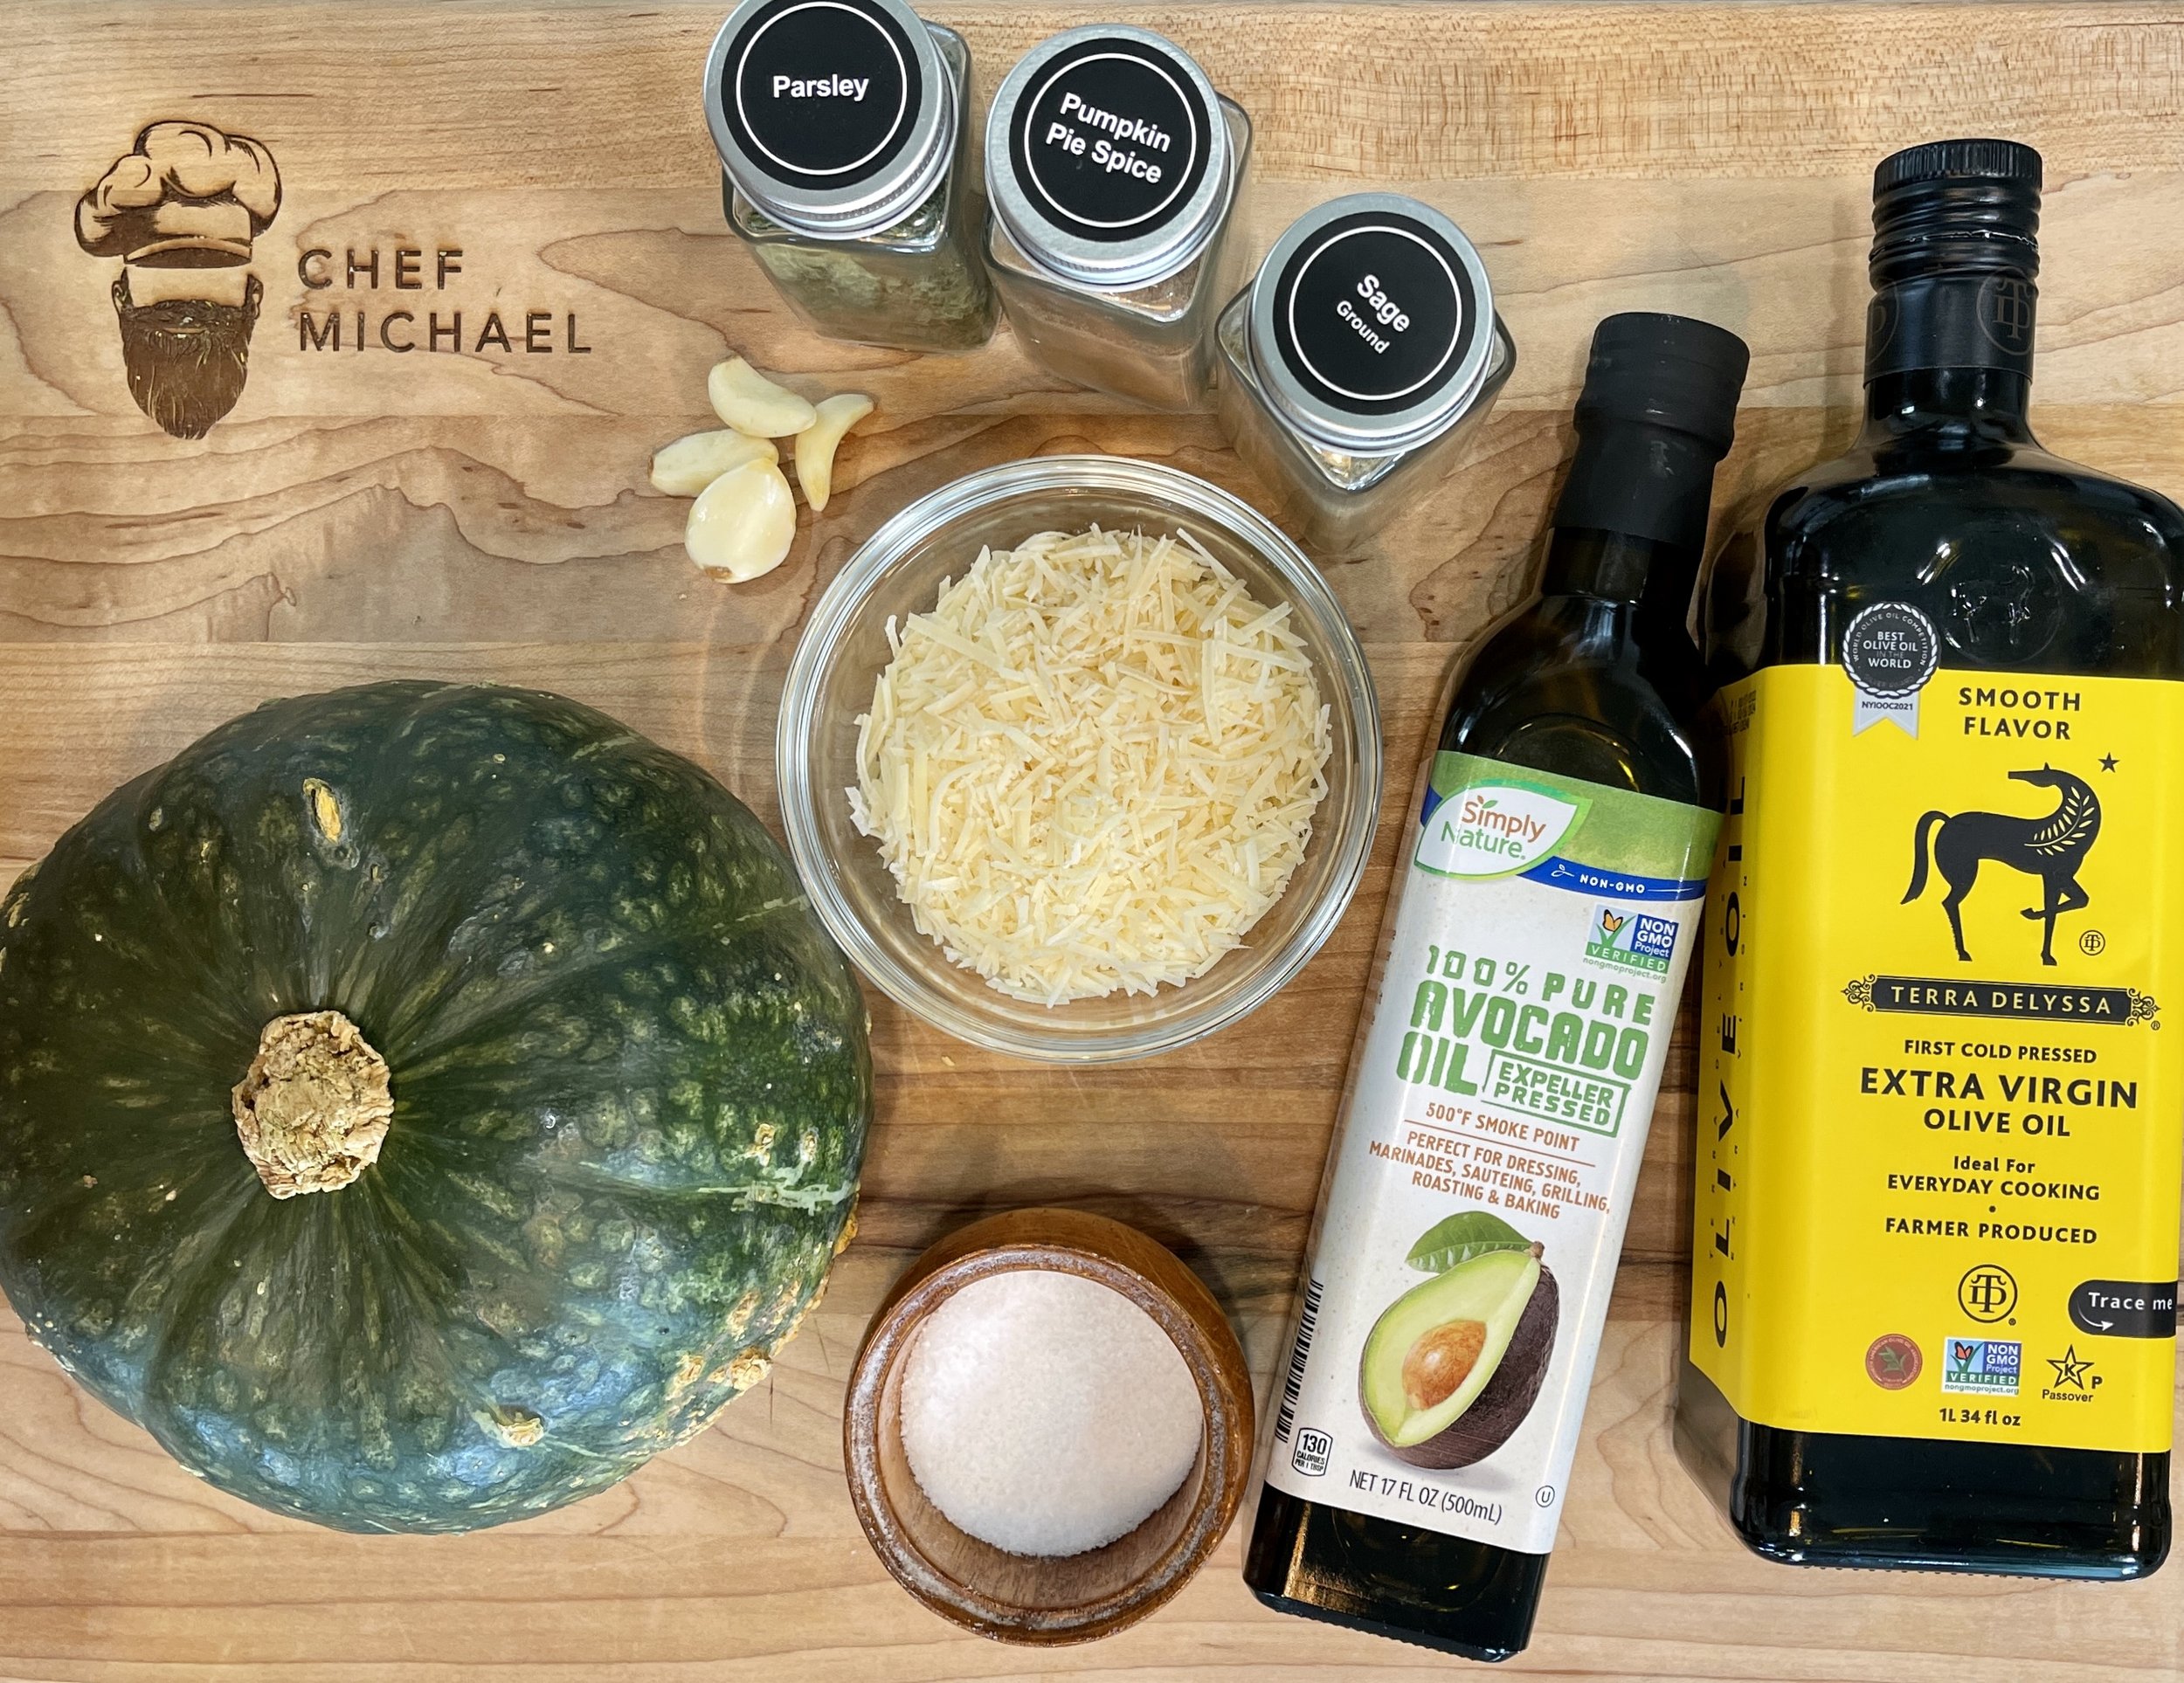
INGREDIENTS:
Garlic-Parmesan Pumpkin Fries (Serves 4 people)
One-half of a 2 to 2.5 lb. - Kabocha squash (see PRO TIPS)
2 Tbsp - Avocado oil
1 Tbsp - Olive oil
4 cloves - Garlic, finely minced
½ tsp - Kosher salt
½ tsp - Pumpkin spice seasoning
⅛ tsp - Ground sage
¼ tsp - Dried parsley (optional)
2 Tbsp - Shredded parmesan cheese (plus additional for garnish)
Pumpkin Spice Butter
8 Tbsp - Salted Irish butter, softened (See PRO TIPS)
(⅛ tsp - Sea salt, only if using unsalted butter)
½ tsp - Pumpkin spice seasoning
1 Tbsp - Powdered sweetener (i recommend allulose)
PRO TIPS:
Kabocha is in season right now, so many grocery stores do have them in stock! However, you can also find them year-round at your local Asian market. If you just can’t get your hands on one, you can use acorn or butternut squash instead. But note, those need to be peeled before cooking! Generally speaking, kabocha squash does not need to be peeled as the skins are edible once cooked. However, if it has any tough, woody, or bumpy areas, you should peel those off. Any smooth, dark skin can stay on.
For the pumpkin spice butter, the butter must be fully softened before you can make this. Leave the butter out on the counter for an hour or so before cooking. Also, you don’t need to use Irish butter; I just recommend it because it’s vastly more flavorful than regular butter. Once you try it, you’ll know what I mean, and it’ll be hard to go back. The extra couple dollars is worth it when upgrading your butter!
If you have a large “toaster-style” air fryer, you can fry this in one batch. If you have a “drawer-style” air fryer, you may need to fry these in two batches. You don't want to overcrowd the air fryer, as the fries will never get crispy!
Have you pre-ordered my new cookbook yet?? It’s loaded with super delicious 30-minute meals (and it’s keto-friendly!). PRE-ORDER HERE. Don’t forget, you even get my new eBook as a free gift for pre-ordering ;)
Click HERE to watch the recipe video on Youtube!
DIRECTIONS:
FOR THE PUMPKIN FRIES:
PREP Start by cutting the kabocha squash in half. Wrap up one half in plastic wrap and store it in the fridge (you can try using it in my Thai Pumpkin Curry recipe!). With the other half of the kabocha, use a spoon to scrape out and discard the seeds and fibers from the center of the squash. Cut out and discard the stem. Then, carefully cut the kabocha into fries (Note: you don’t need to peel kabocha squash! The skins get nice and crispy.). The more evenly you cut the fries, the better they will turn out, so take your time with this and cut them as evenly as you can.
SOAK Fill a large mixing bowl with cool water. Add the pumpkin fries to the water and let them soak for 30 to 60 minutes (this will pull out all of the starch and lead to a crispier french fry!). Remove the fries from the water using a strainer or slotted spoon and set them in one layer onto a paper towel-lined plate. Gently press and pat them dry as much as possible with additional paper towels. If needed, take this time to remove and discard any of the soft, fibrous centers that may have gotten soggy. Then also dry out the mixing bowl very well, as we will use this in the next step.
COOKING Preheat the air fryer to 400°F (204°C), see PRO TIPS. Add the fries back into the mixing bowl, then add the avocado oil. Toss the fries in the oil until they are completely coated. Once the fryer is preheated, spread the fries into an even layer in the air-fryer basket (again, save that mixing bowl for later!), and cook for 15 to 20 minutes, depending on how thick you cut your fries (I’d suggest flipping them halfway through for a more even cook.). As soon as you start to see them turn darker along the edges and look crispy, immediately take the basket of fries out of the air fryer.
SEASONING As soon as the fries are done, carefully add them back into the same mixing bowl. SPrinkle on top the olive oil, garlic, salt, pumpkin spice, sage, dried parsley, and parmesan. Gently toss/stir the fries in the bowl until they are evenly coated in those seasonings.
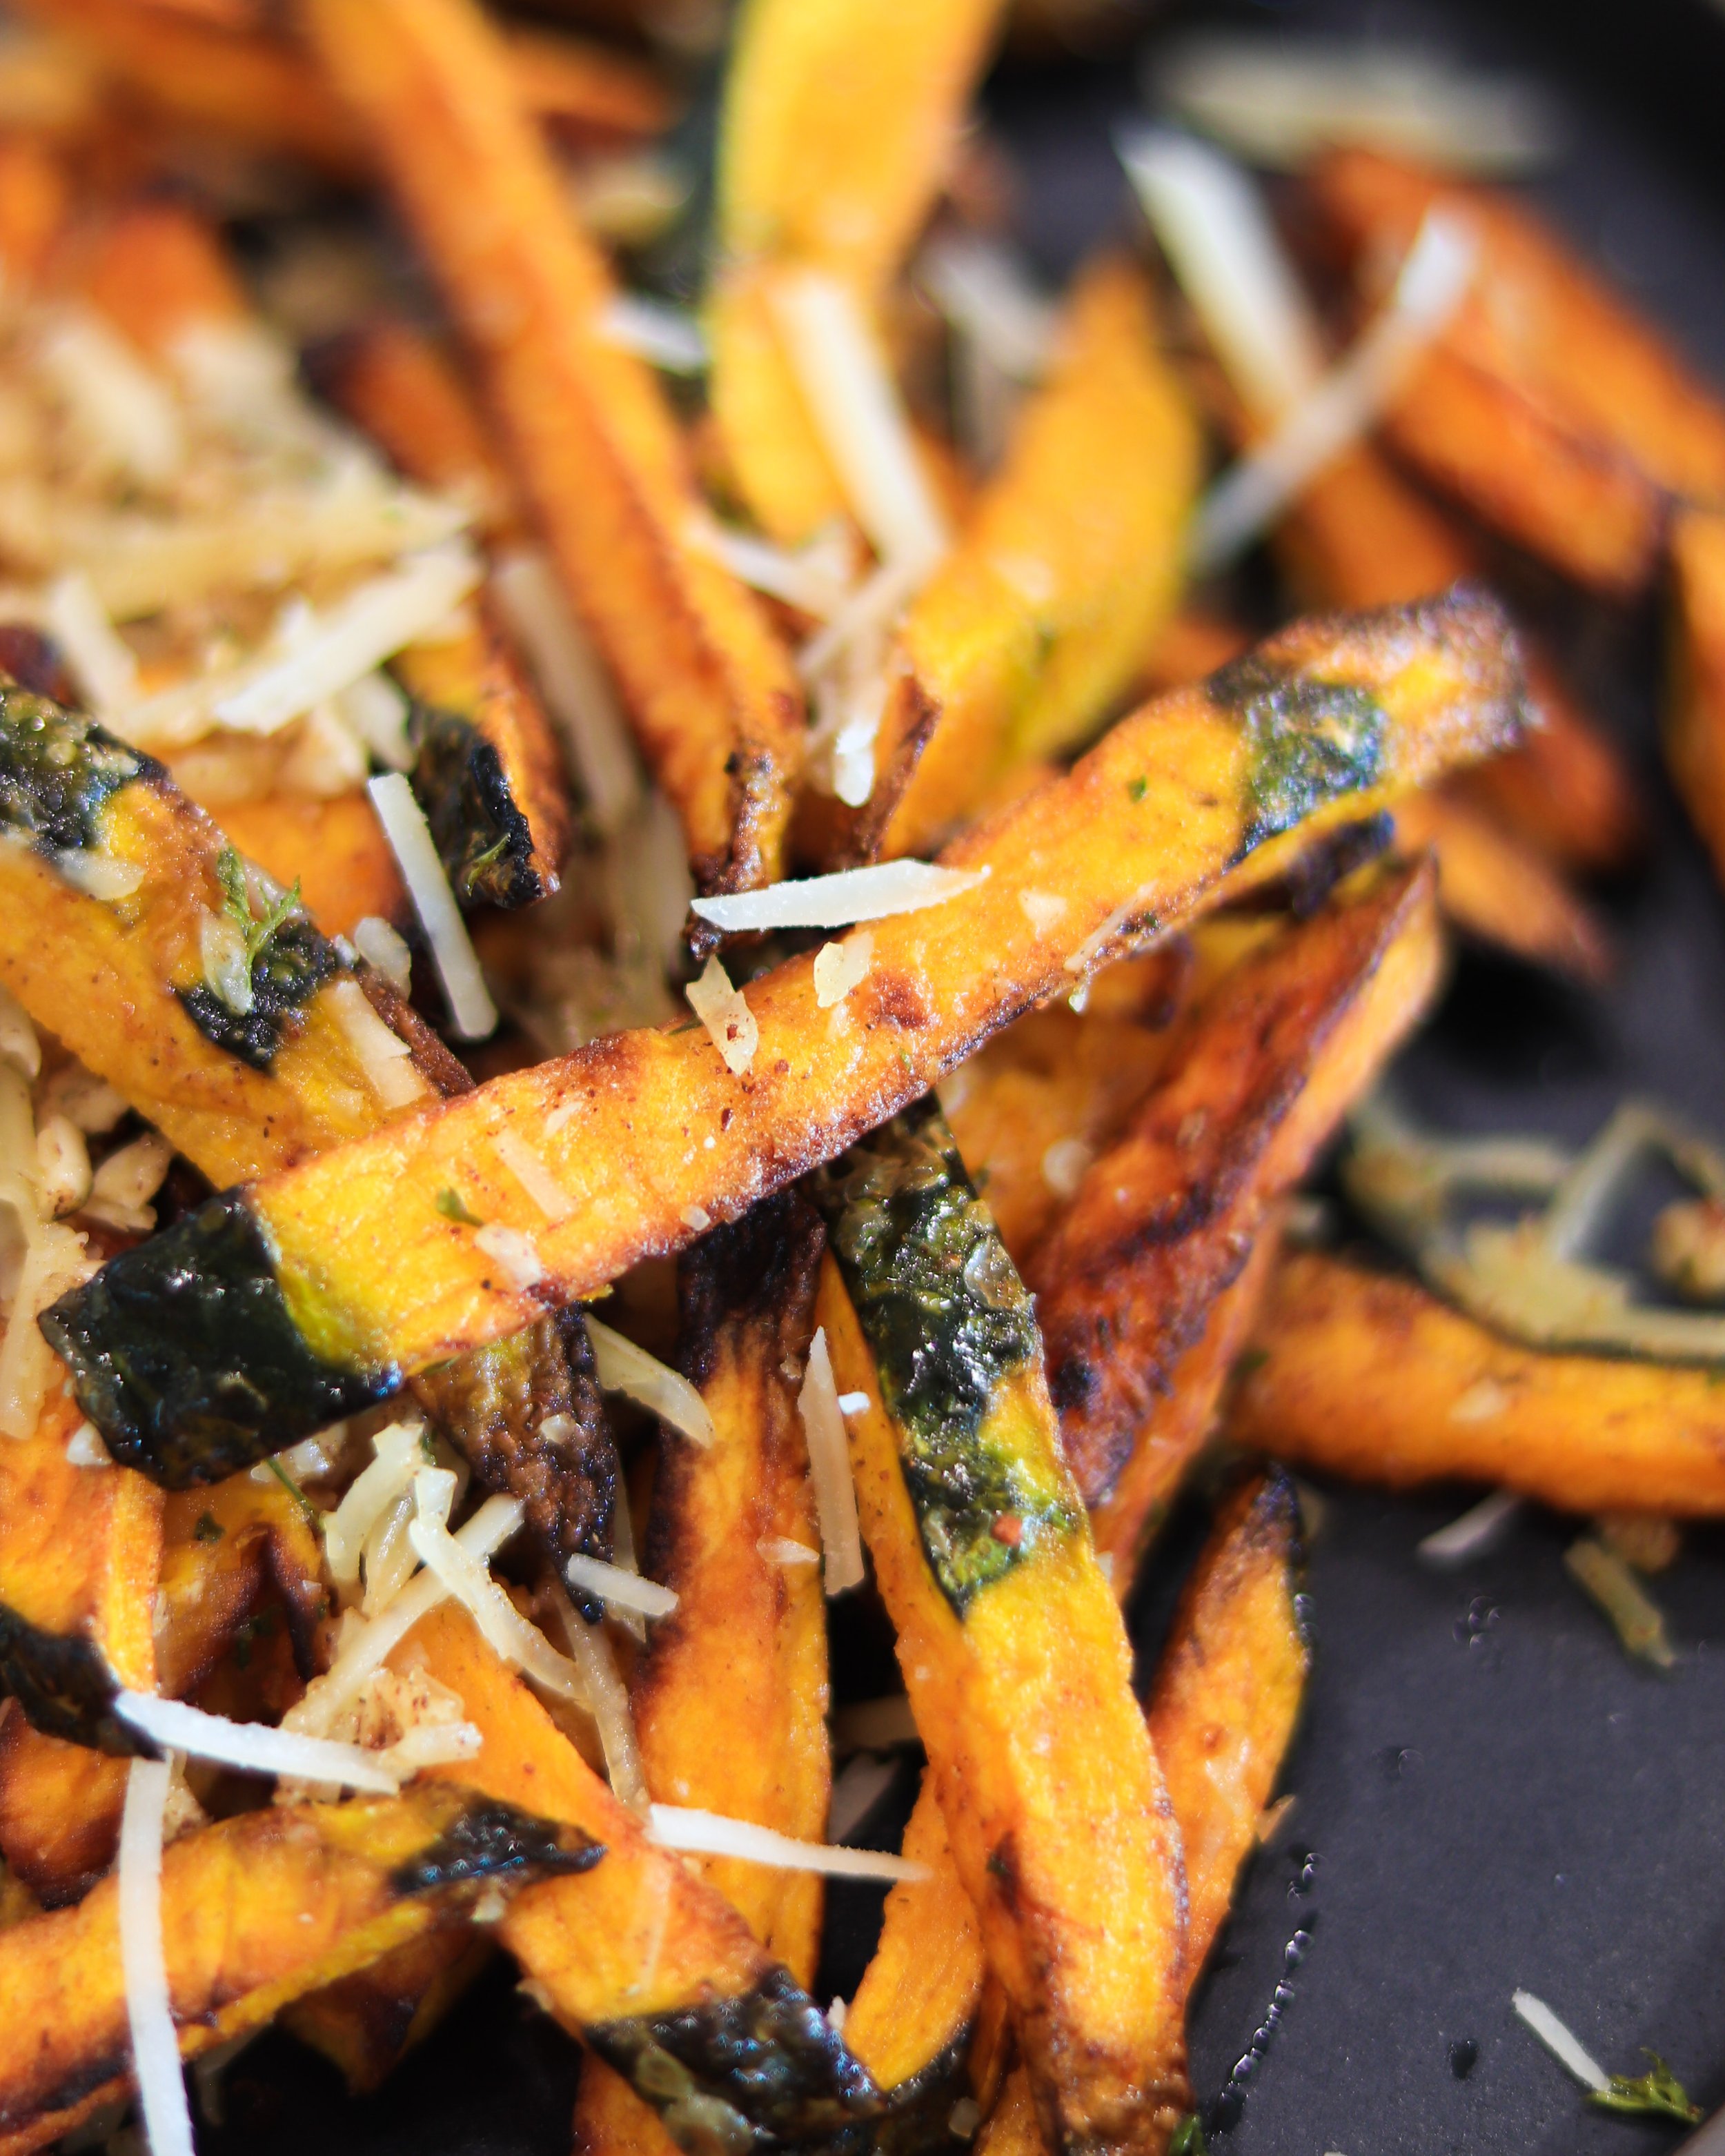
SERVE Pour the seasoned fries onto a serving plate and top with another sprinkle of parmesan cheese. TIP: Serve while piping hot! They will get soggy as they cool down, so enjoy them quickly ;)
FOR THE PUMPKIN BUTTER:
MIX Add the softened butter to the mixing bowl of a stand mixer (Note, you can also do this with an electric hand-mixer, or just by hand using elbow grease!). Add in the pumpkin spice and the sweetener (as well as salt, if you used unsalted butter). Starting on low speed, whip the butter, and increase the speed gradually until the mixture is fully combined and fluffy.
IF SERVING IMMEDIATELY Simply use a spatula to scrape out the butter from the mixing bowl, and add it to a small serving bowl.
IF SERVING LATER Making this “compound butter” ahead allows the flavors to better infuse into the butter. After mixing the butter, lay a long piece of plastic wrap onto your countertop. Scoop the butter from the mixing bowl right into the center of the plastic wrap, then carefully roll the butter, “like a cigar”, into a cylinder shape. Squeeze and twist both sides of the plastic wrap until the butter is tightly wrapped and all the air is removed. Store that butter in the fridge for up to a month! Slice into it as needed, just like any stick of butter. I also recommend leaving it out to soften before serving.